Welcome to part two of the Can of Dates! Let's jump right in.
1) First I collected a large metal can from work. 6lb and 9oz container. Yaiy for my job! ^_^ Strip the can and scrub it down inside and out. You really don't want anything left over in it when you start to work. Ew. Let dry completely before moving on to the next step.

2) This step is optional. Personally I wanted to give the paper a better base to adhere to and color wash the inside so it wasn't so screamingly low budget. Take can to a well ventilated area and use newspaper or a drop-cloth of some sort to protect the area you will be spraying on. Dollar store table covers work great for this. Spray. Don't feel like you have to completely cover it in one go. It took me three rounds. If you try to get it in one round, be warned: it will build up, bubble, and run. Not the best look. Let completely dry.


3) Now, while your can is drying, let's cut the paper. I selected three 12inx12in scrapbook papers, two in the same design and one in a different. Each was cut in half to form two rectangles of the same size, 6inx12in. Set these aside to use on the can later.

4) Take the rest of your scrapbooking paper and begin to cut it in to 3inx4in rectangles. I used my paper cutter and sliced 3in wide sections, then stacked them four together and sliced them again at the 4in mark. You should have a pile of lots of pretty papers!
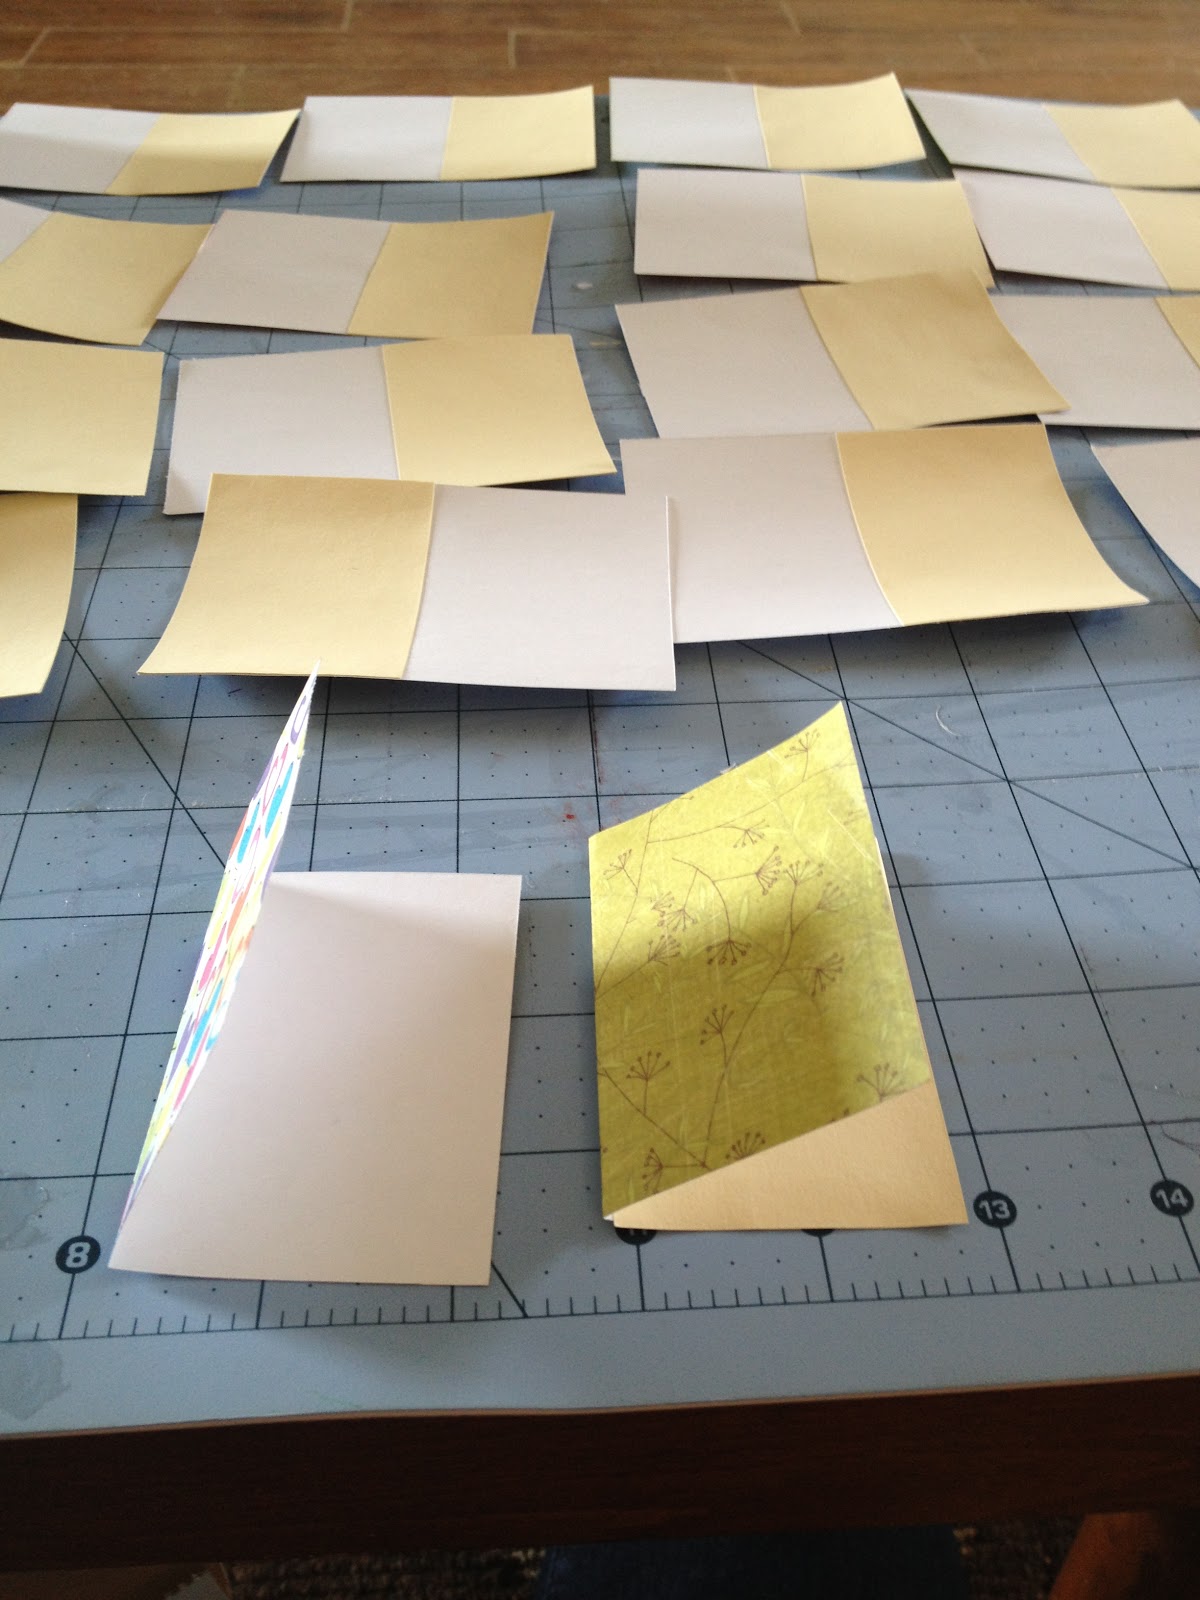
5) Fold all those pretty papers in half so they become 3inx2in cards. Now this is where I messed up a batch of twenty cards. I had thought they would be too flimsy just being scrapbook paper and was going to add a lining of cardstock. Don't do it, they look much better without it.

6) Get that glue gun heating up! Those rectangles we set aside earlier, pull them back out. The four matching rectangles you will glue to the can. Do it in small sections, laying down an inch or two of glue at a time. Remember, this glue hardens quickly. Yes, they will overlap. Just make sure to plan your laying so they all overlap in the same spot and can easily be hidden by whichever way you decide to turn the can. Take the last two rectangles and make a runner around the middle of the can with them. Congrats, you have finished covering your can!

7) Now I took a scrap piece of cream cardstock, scrapbooking scissors, and a scrapbook pen to make the Can of Dates label. Write on your label before you glue it! Adhere the label with another round of hot glue.
8) Throw your cards in to the can for storage until ready to use!

Hope this helps! Leave a comment below. Like it, hate it, want to try it, whichever! Good luck and thank you for reading.
~Lion
